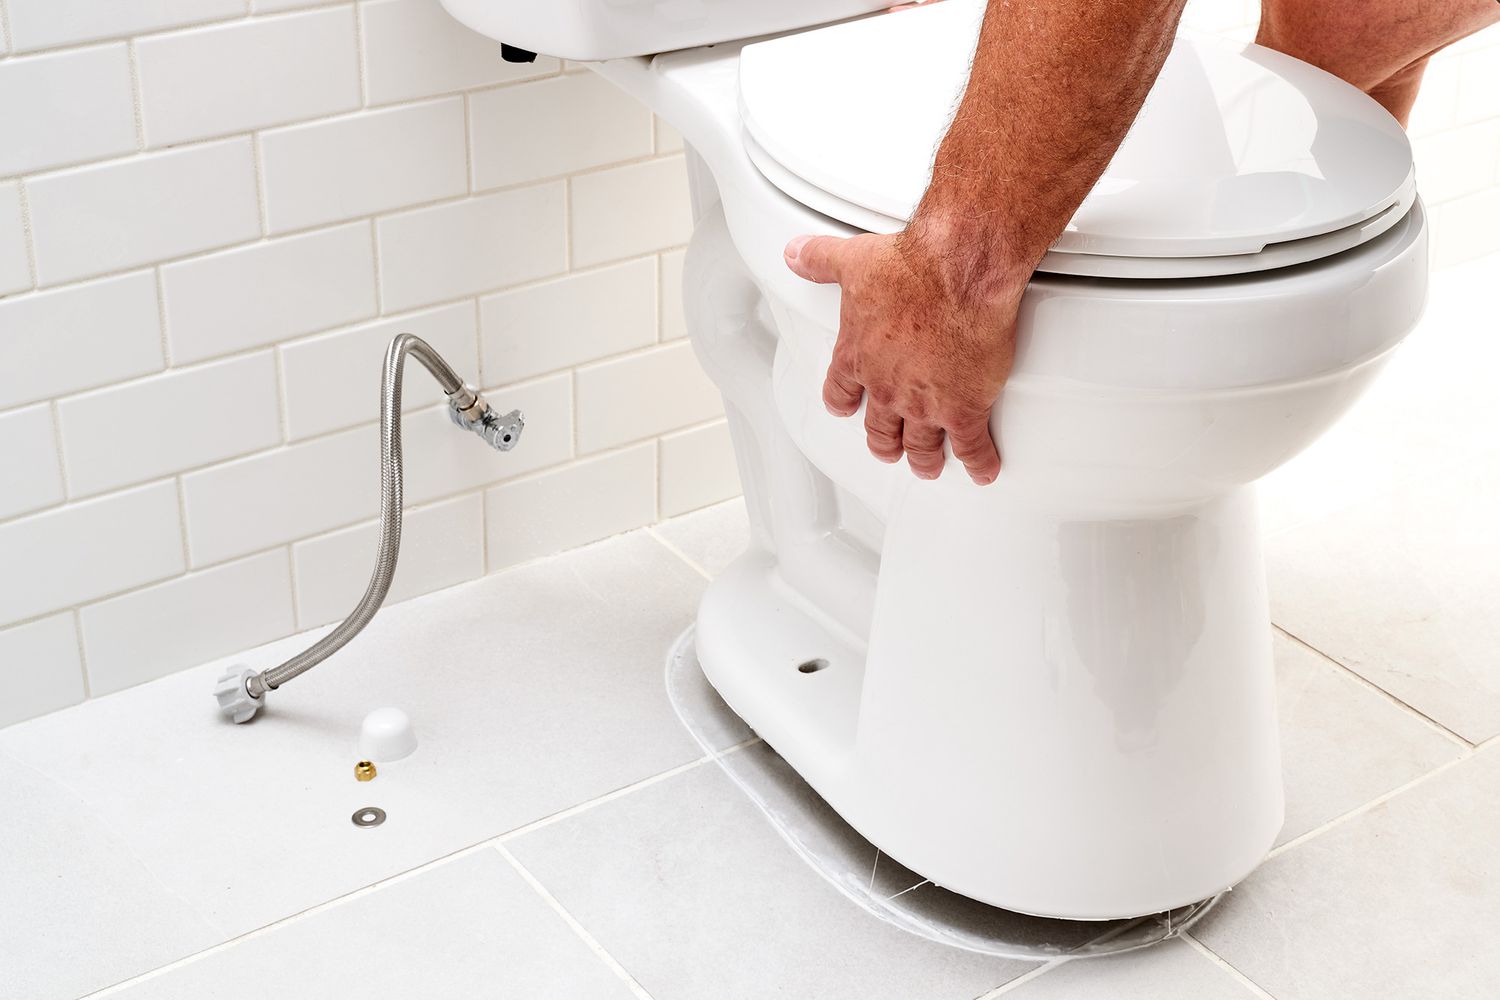
Is water leaking around your kitchen sink drain? Does your strainer look corroded or rusty? Replacing a kitchen sink strainer might seem intimidating, but with the right tools and guidance, it’s a manageable DIY project that can save you money. However, if you’re not comfortable tackling plumbing repairs yourself, DDB Plumbing is here to help homeowners throughout West Richland, Pasco, and surrounding Washington communities with professional sink repair services.
Why Kitchen Sink Strainers Need Replacement
Kitchen sink strainers endure constant exposure to water, food particles, and cleaning chemicals. Over time, these factors lead to deterioration that causes leaks, corrosion, and poor drainage. A failing strainer can allow water to seep into your cabinet, potentially causing water damage and mold growth underneath your sink.
Common signs your strainer needs replacement include:
- Visible rust or corrosion on the strainer basket
- Water pooling under the sink
- Loose or wobbly strainer assembly
- Persistent foul odors coming from the drain
- Difficulty removing the strainer basket for cleaning
If you notice any of these issues in your Kennewick or Richland home, it’s time to replace your kitchen sink strainer before minor problems become major plumbing emergencies.
What You’ll Need for the Job
Before starting this project, gather these essential tools and materials:
- New sink strainer assembly (measure your current drain opening)
- Adjustable wrench or basin wrench
- Plumber’s putty or silicone sealant
- Screwdriver (flathead or Phillips, depending on your drain)
- Bucket or towel for water spillage
- Slip-joint pliers
- Hacksaw (if old connections are corroded)
DDB Plumbing recommends choosing a quality stainless steel strainer for durability and longevity, especially in homes with hard water common throughout Washington.
8 Simple Steps to Replace Your Kitchen Sink Strainer
Step 1: Clear the Area and Turn Off Water
Remove everything from under your sink to create a workspace. While you won’t need to shut off the water supply for this job, having clear access makes the process much easier.
Step 2: Disconnect the Drainpipe
Place a bucket under the P-trap to catch any standing water. Using your adjustable wrench or pliers, loosen the slip nuts connecting the drainpipe to the strainer. Remove the tailpiece that connects directly to the old strainer.
Step 3: Remove the Old Strainer Locknut
From underneath the sink, locate the large locknut holding the strainer in place. Use a basin wrench or adjustable pliers to turn it counterclockwise. If the strainer spins while you’re loosening the locknut, have someone hold it from above or use pliers to grip it.
Step 4: Remove the Old Strainer
Once the locknut is removed, push the old strainer up through the sink opening from below. You may need to twist and wiggle it to break the old putty seal. Clean away all old putty or sealant from the sink surface using a putty knife.
Step 5: Apply Plumber’s Putty to New Strainer
Roll plumber’s putty into a rope about ½ inch thick and press it around the underside lip of your new strainer. This creates a watertight seal between the strainer and sink surface.
Step 6: Install the New Strainer
Press the new strainer firmly into the drain opening from above, ensuring even contact with the sink surface. Some putty should squeeze out around the edges—this is normal and shows you’ve created a good seal.
Step 7: Secure from Underneath
From below the sink, slide on the rubber gasket, friction ring, and locknut (in that order) over the strainer’s threaded portion. Hand-tighten the locknut, then use your wrench to snug it firmly while someone holds the strainer steady from above. Don’t overtighten, as this can crack the sink or strainer.
Step 8: Reconnect the Drainpipe and Test
Reattach your tailpiece and P-trap connections, ensuring all slip nuts are hand-tight plus a quarter turn with your wrench. Wipe away excess putty from around the strainer. Run water and check for leaks both at the strainer and all pipe connections.
When to Call Professional Plumbers
While replacing a sink strainer is a common DIY project, some situations call for professional expertise. Contact DDB Plumbing if you encounter:
- Corroded pipes that break during removal
- Non-standard sink configurations
- Signs of extensive water damage under the sink
- Difficulty accessing or removing old components
- Multiple plumbing issues requiring attention
Our experienced technicians have the specialized tools and knowledge to handle any sink repair challenge efficiently.
Professional Kitchen Plumbing Services in Washington
Don’t let a leaking sink strainer cause water damage to your home. Whether you’re in West Richland, Kennewick, or anywhere across Washington, DDB Plumbing provides fast, reliable kitchen plumbing services. Contact DDB Plumbing today at 509-240-9278 to schedule your kitchen sink repair. Our certified plumbers and drain technicians respond immediately to any emergency plumbing, drain cleaning, or fixture replacement need. Protect your home and family with professional plumbing services from the team you can trust—emergency services available 24/7!